TRANSACTION ENTRY
From SPGC Document Wiki
Main Page > Application Development Team > System Manual > SPGC EPAYROLL
Salary Adjustment
Process Summary
• When you want to Add an SDSA entry, these are the things that you should know : o SALARY DEDUCTION AND SA LARY ADJUSTM ENT CODES Note: ✓ All the SDSA which code starts w ith 100 and below are considered taxab le except for 302. ✓ While all the SDSA which code starts with 100 and above are considered non-taxable except for 302.
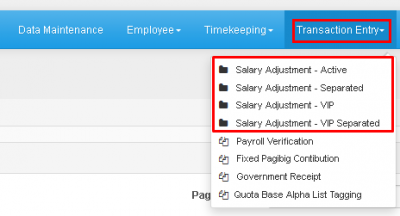
* Under the Transaction Entry is the Salary Adjustment which Manages Salary Adjustments Transaction.
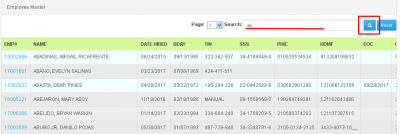
*Depending on what kind of Employee you'll search for, whether the Employee is Active, Separated, VIP, VIP separated. Press Salary Adjustment it will redirect you to the Employee Master Page. From there, the user can input the Emp. no./Name on the Textbox and by clicking the Search button, a list of Employees will appear on the list based on the info. entered in the text box.
*The Reset button is also included, by clicking the button, it will reset the searches and erase the results on the Emp. Master list.
*The Page Combo Box can be clicked (highlighted w/ red box), it will help you navigate freely from multiple pages of Employee Master list.
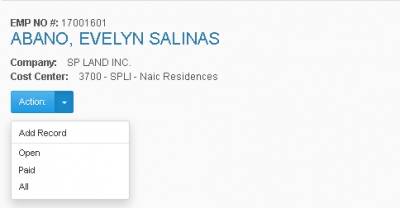
* When the user clicks on the Emp. No. at the left side, You will be redirected to Transaction Entry which indicates the Employees: Emp No., Class Type, Payment Type and the Employment Status.
* Then when the user clicks on the arrow down on the Action, it will display the Open, Paid, All and the Add Record.
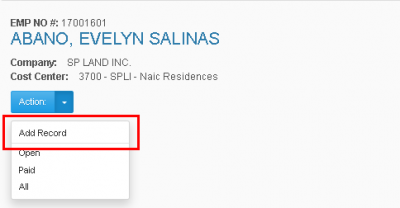
* When the user clicks on the Add Record
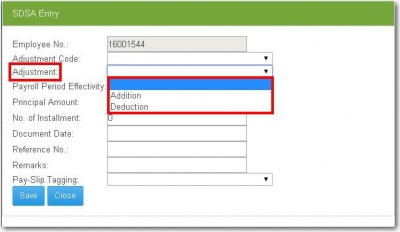
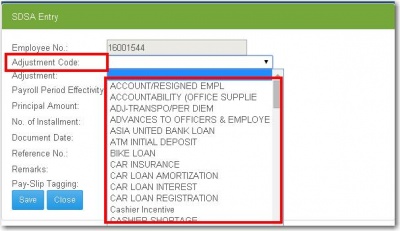
*The SDSA Entry will display, then the user is required input data in all entry. In Adjustment Code the user must select from the choices in the combo box.
*In Adjustment the user must select whether their choice is addition or deduction, then click the Save Button to record.
Payroll Verification
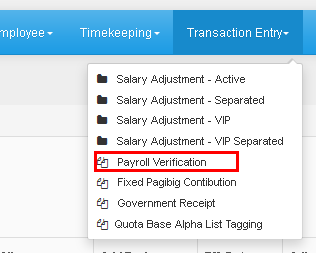
* Under the Transaction Entry is the Payroll Verification, then when the user clicks the button, it will display the Payroll Verification Entry
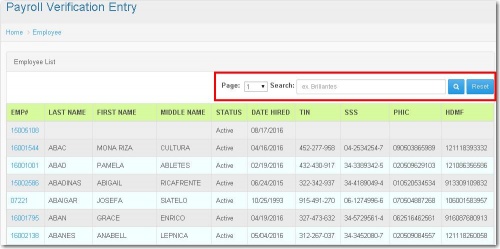
* When you click on the Payroll Verification it will display the Employee List which is the list of employee. The user can use the Page combo box which is the number of page for the list of employee. Then the user can also use the Search button to search employee name to easily found the employee. And the Reset button to go back to the main page of Payroll Verification
* When the user clicks the EMP #, The Payment Entry will display. The Employee Number that the user click will remain.
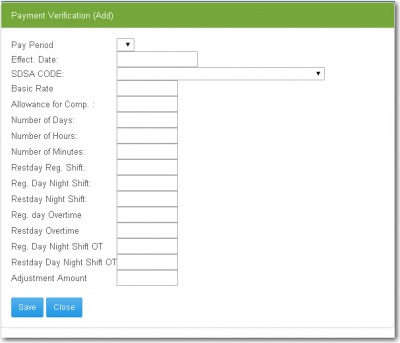
* When the user clicks on the (+), the Payment Verification (Add) will appear. The user should input a data in each entry. Including the Pay Period, Effect. Date, the SDSA CODE which can be selected in the combo box. Then the Basic Rate, Allowance for Com., Number of Days, Number of Hours and Number of Minutes. Next the Restday Reg. Shift, Reg. Day Night ShiftRestday Night Shift, Reg. Day Overtime, Restday Overtime, Reg. Day Night Shift OT, Restday Day Night Shift OT and the Adjustment Amount. After input the data in each entry the user can now click the save button then the records will be saved.
Fixed Pagibig Contribution
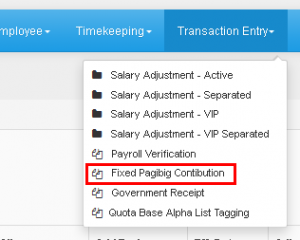
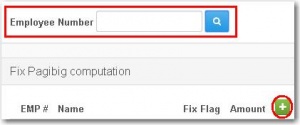
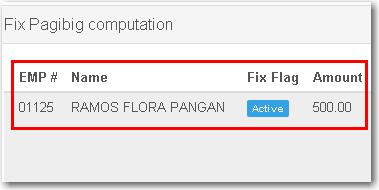
* Under the Transaction Entry, It includes the Fixed Pagibig Contribution. When the user clicks this entry it will display the Fix Pagibig Computation. The user can search the Employee Number on the search box.
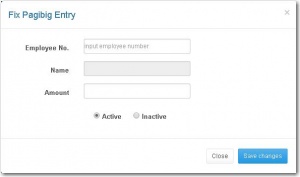
* When the user clicks the (+) , it will display the Fix Pagibig Entry, It includes the Employee No. Name and the amount.
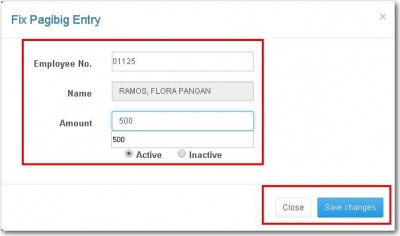
* The user should input data for Employee No. Then the Name will automatically be displayed and then the amount and the user can select whether Active or Inactive.
* Then After the user input the data, the user now can click the save button then the records will display
Government Receipt
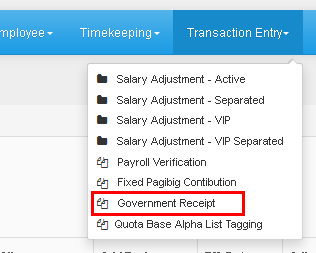
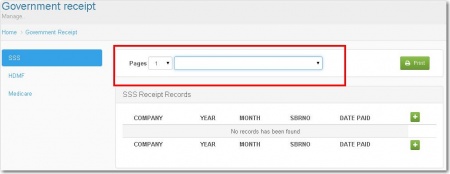
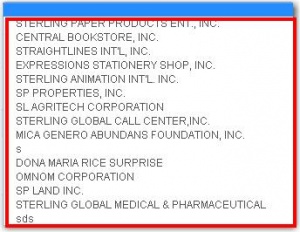
* In Transaction Entry it includes the Government Receipt. The Pages, which is the number of pages, the user can use the combo box. The user can also select a company in the combo box besides the pages.
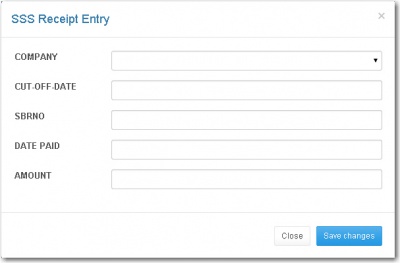
* It's like in the SSS When the user click on the (+), The SSS Receipt Entry will display. The users are allowed to input data to all entry. It includes the Company which can be selected, The cut-off-date, SBRNO, Date Paid and the Amount. After you input data you can now click the save button then the record will saved
 * It's like in the SSS When the user click on the (+), The
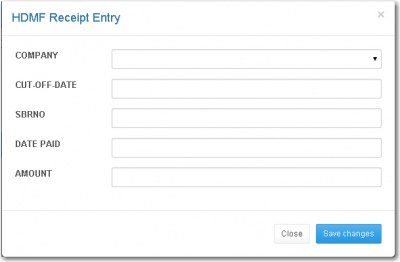
 HDMF Receipt Entry will display. The user are allow to input data to all entry. It includes the Company which can be selected, The cut-off-date, SBRNO, Date Paid and the Amount. After you input data you can now click the save button then the record will saved
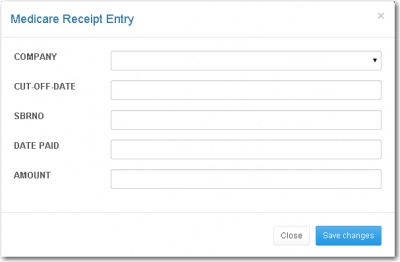
* It's like in the SSS When the user clicks on the (+), The SSS Receipt Entry will display. The user are allowed to input data to all entry. It includes the Company which can be selected, The cut-off-date, SBRNO, Date Paidand the Amount. After you input data you can now click the save button then the record will saved
Quota Base Alpha List Tagging
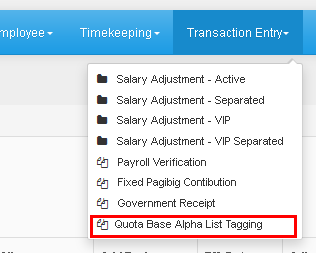
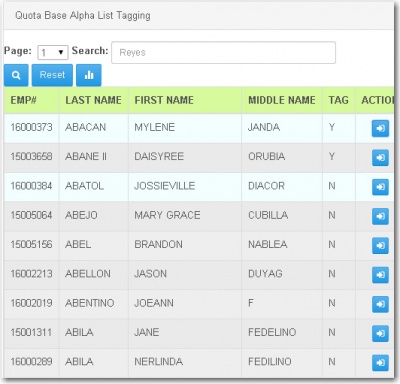
* Under the Transaction Entry is the Quota Base Alpha List Tagging. The user can use the combo box for Page which the number of pages, for the ease navigation of the user through pages. Then the user can also use the search box to search the employee. And the reset button to go back to main page of Quota Base.
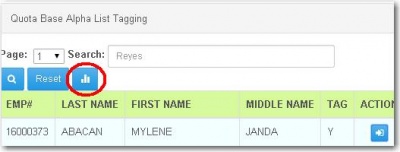
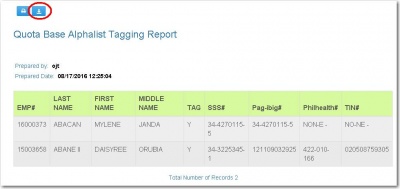
* This button is for Quota Base Alphalist Tagging Report, It will display the information of the employee you selected.
* This button allows the user to download a file in the Quota Base Alphalist Tagging Report. Besides it is the print, for printing the file.
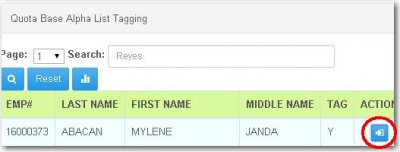
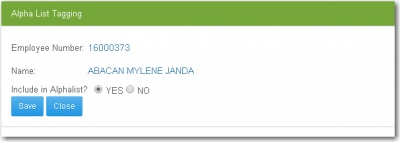
* When the user clicks this button, the Alpha List Tagging will display. Which includes the Employee Number of the employee selected, Then the Name of the employee and question Included in the Alpahalist answerable with Yes or No. After that the user now can click on save button then the records will be save.
Reference
Main Page > Application Development Team > System Manual > SPGC EPAYROLL
