ROUNDCUBE USER'S GUIDE
Main Page > Application Development Team > System Manual > Roundcube User's Guide
Roundcube User's Guide
Connect to the Interface
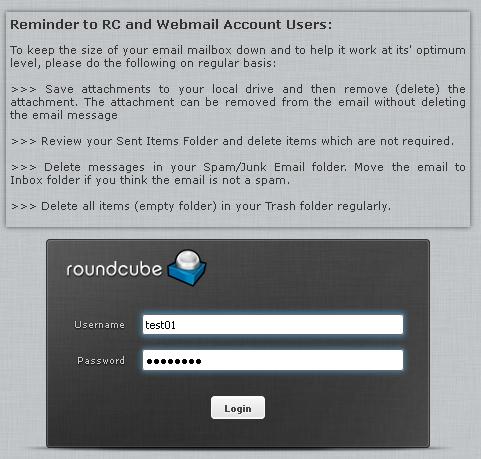
> Enter in your username and password and click on “Login”
Inbox
> Once connected to your account, you have access to your inbox and sent messages. In the left column you can find the main folder of your account: message sent and received
> In the same column under footer, are access to folder settings and Quota of your account
> In the right part, you can easily view all the emails and see the following information
- The subject
- The mark
- The read or unread message status
- The date and time
- The size of the email
- The flag
- The presence of attachments (column with paper clip far night)
| NOTE: By default, some columns do not appear. This is the case of the priorities assign to e-mails. To change this, you must change the display with the option shown below |
Display Option and Sorting
> To access this option, click on the gear icon on the top left side of the main frame of your e-mails, to the left of subject
> In this option, you’ll be able to :
- Add Columns to display (priority mails, etc.).
- Select the columns on which the sort will be done by default.
- Select the sort order (ascending or descending).
> Once you have made your selections, confirm by clicking “Save”
Email Options
> The number of unread emails appears in the left column to the right box of inbox
> An unread email appears bold on the right side
> For each message you can:
- Reply: allows you to reply directly to
- Reply all: allows you to directly response to all emails on the “To” and “Copy”
- Forward: allows you to transfer the selected corresponding emails of your choice.
- Delete: allows you to send the selected to the “Trash”
- Mark: for this option see the next paragraph
- … More: for this option see the next paragraph
Mark Message
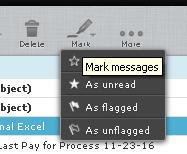
> When you click the "Mark", you get this pop-up menu. So you can mark a message, remove a mark as unread and declare a message has been read. This option also works (and especially) to select multiple emails.
> These options are useful to highlight some of your emails
... More
> When you click the “… More” you get this pop-up menu
> You can the:
- Print this message: open the message in a new window and offers printing.
- Download: allows you to download your computer e-mail format.eml
- Edit as new: allows you to edit an email preserving its original layout.
- Show source: displays the full source of the message. Very useful when you are asked for headers!
- Open in new window: allows you to open the message in a new window (useful for viewing/ open multiple message at time)
Settings
Access Settings
> You must be logged in to your account to access this feature.
> To access the settings of your email account, click the gear at the top right.
User Interface
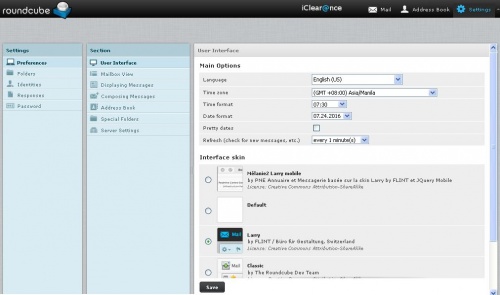
> After clicking on the gear you will land directly on the User Interface
> In this interface, you can change various elements such as language, date and time formats and the theme of the interface
Mailbox View
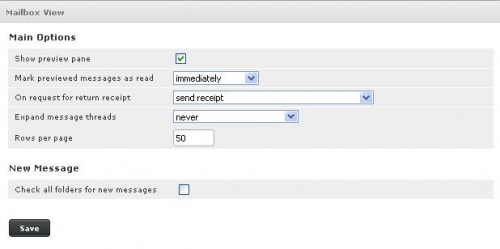
> In Mailbox View, you can change the number of emails displayed in the interface to generate fewer pages for example if you have a large number of e-mails. You can also choose not to display the preview email interface and display only when double click or in a new window.


