Difference between revisions of "ROUNDCUBE USER'S GUIDE"
| Line 10: | Line 10: | ||
'''Inbox''' | '''Inbox''' | ||
[[File:2_-_Discovering_the_Interface.JPG|500px|center]] | [[File:2_-_Discovering_the_Interface.JPG|500px|center]] | ||
| − | :::::<p>'''>''' Once connected to your account, you have access to your inbox and sent messages. In the left column | + | :::::<p>'''>''' Once connected to your account, you have access to your inbox and sent messages. In the left column you can find the main folder of your account: <span style=color:blue>message sent and received</span></p> |
| − | :::::<p>'''>''' In the same column under footer , are access to folder settings and Quota of your account </p> | + | :::::<p>'''>''' In the same column under footer, are access to <span style=color:yellow>folder settings</span> and <span style=color:yellow>Quota of your account</span> </p> |
| − | :::::<p>'''>''' In the right part, you can easily view all the emails and see the following information</p> | + | :::::<p>'''>''' <span style=color:red>In the right part</span>, you can easily view all the emails and see the following information</p> |
:::::::* The subject | :::::::* The subject | ||
:::::::* The mark | :::::::* The mark | ||
| Line 25: | Line 25: | ||
'''Display Option and Sorting''' | '''Display Option and Sorting''' | ||
[[File:3_-_Display_Option_and_Sorting.JPG|500px|center]] | [[File:3_-_Display_Option_and_Sorting.JPG|500px|center]] | ||
| − | :::::<p>'''>''' To access this option, click on the gear icon on the top left side of the main frame of your e-mails, to the left of subject </p> | + | :::::<p>'''>''' To access this option, click on the <span style=color:red>gear icon</span> on the top left side of the main frame of your e-mails, to the left of subject </p> |
:::::<p>'''>''' In this option, you’ll be able to : </p> | :::::<p>'''>''' In this option, you’ll be able to : </p> | ||
:::::::* Add Columns to display (priority mails, etc.). | :::::::* Add Columns to display (priority mails, etc.). | ||
| Line 32: | Line 32: | ||
:::::<p>'''>''' Once you have made your selections, confirm by clicking “'''Save'''” </p> | :::::<p>'''>''' Once you have made your selections, confirm by clicking “'''Save'''” </p> | ||
'''Email Options''' | '''Email Options''' | ||
| + | [[File:4_-_Email_Options.JPG|500px|center]] | ||
| + | :::::<p>'''>''' The number of unread emails appears in the left column to the right box of inbox </p> | ||
| + | :::::<p>'''>''' An unread email appears bold on the right side </p> | ||
| + | :::::<p>'''>''' For each message you can: </p> | ||
Revision as of 08:31, 29 November 2016
Main Page > Application Development Team > System Manual > Roundcube User's Guide
Roundcube User's Guide
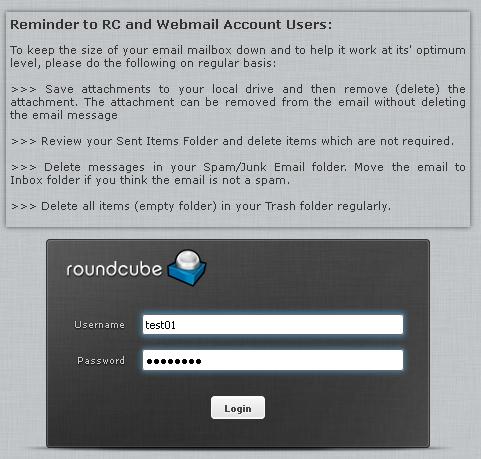
Connect to the Interface
> Enter in your username and password and click on “Login”
Inbox
> Once connected to your account, you have access to your inbox and sent messages. In the left column you can find the main folder of your account: message sent and received
> In the same column under footer, are access to folder settings and Quota of your account
> In the right part, you can easily view all the emails and see the following information
- The subject
- The mark
- The read or unread message status
- The date and time
- The size of the email
- The flag
- The presence of attachments (column with paper clip far night)
| NOTE: By default, some columns do not appear. This is the case of the priorities assign to e-mails. To change this, you must change the display with the option shown below |
Display Option and Sorting
> To access this option, click on the gear icon on the top left side of the main frame of your e-mails, to the left of subject
> In this option, you’ll be able to :
- Add Columns to display (priority mails, etc.).
- Select the columns on which the sort will be done by default.
- Select the sort order (ascending or descending).
> Once you have made your selections, confirm by clicking “Save”
Email Options
> The number of unread emails appears in the left column to the right box of inbox
> An unread email appears bold on the right side
> For each message you can:


