Difference between revisions of "REPORTS SYSTEM"
From SPGC Document Wiki
| Line 90: | Line 90: | ||
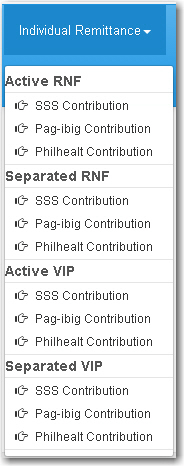
* For the SSS , Pag-ibig and Philhealth Contribution of the Active RNF, Separated RNF, Active VIP and Separated VIP all of that has almost the same way on how the user inputting the information. | * For the SSS , Pag-ibig and Philhealth Contribution of the Active RNF, Separated RNF, Active VIP and Separated VIP all of that has almost the same way on how the user inputting the information. | ||
| − | [[File:Individual_remitance.jpg|center]] | + | [[File:Individual_remitance.jpg|center|]] |
| − | * | + | * The user are allow to choose if what she/he want to search , simply click the Search By combo box then select. |
| + | [[File:Search_by.jpg|center|]] | ||
* | * | ||
* | * | ||
Revision as of 10:28, 22 August 2016
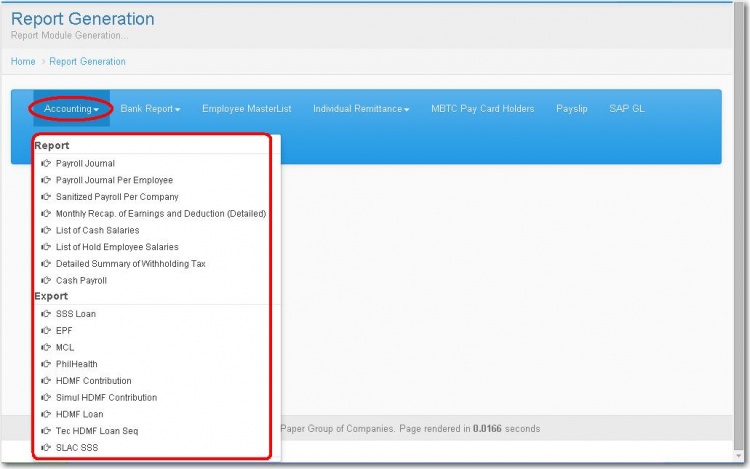
- By clicking the user the Report drop down menu Report Generation Module will diplay. In this module the user will see some categories viewed below Report Generation Module.
- Clicking the Accounting Button let the user viewed what was under the accounting module.
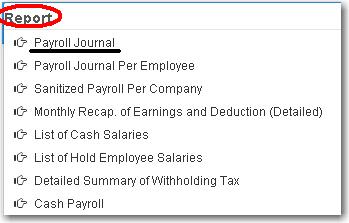
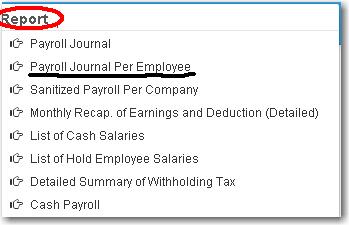
- Under the Report , the Payroll Journal .
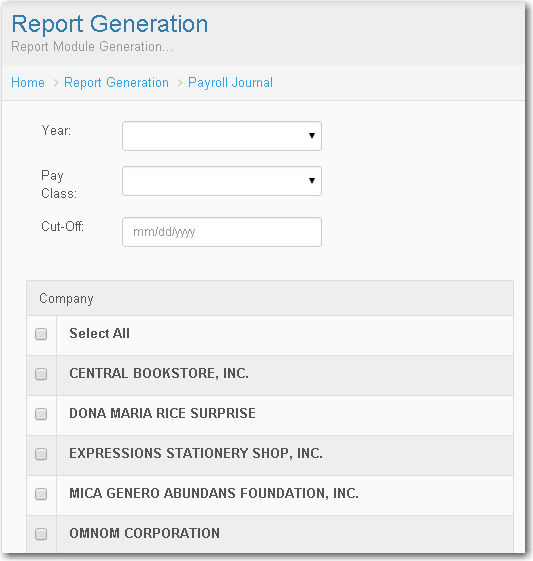
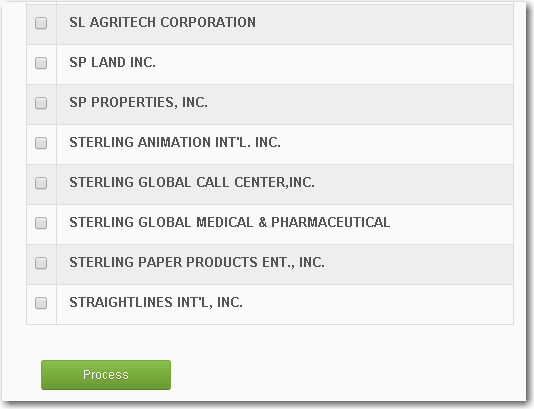
- Simly click the Year combo box , select the year. Click also the Payclass combo box and select. And input the Cut-Off date according to the date formatted. Select the Company by putting a check on the textbox provided every company.Then click Process button.
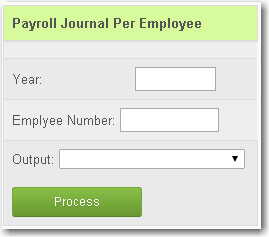
- Clicking the Payroll Journal Per Employee, Payroll Journal Per Employee Module will display.
- Click the textbox input the Year , Employee Number , Select the Output by clicking the combo box. Then click Process button.
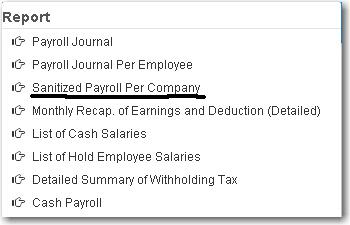
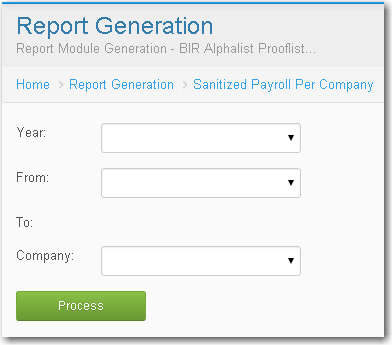
- Clicking Sanitized Payroll Per Company. Sanitized Payroll Per Company Module will display
- Input the Year, From what Month To Month , select for the Company. And Click Process Button.
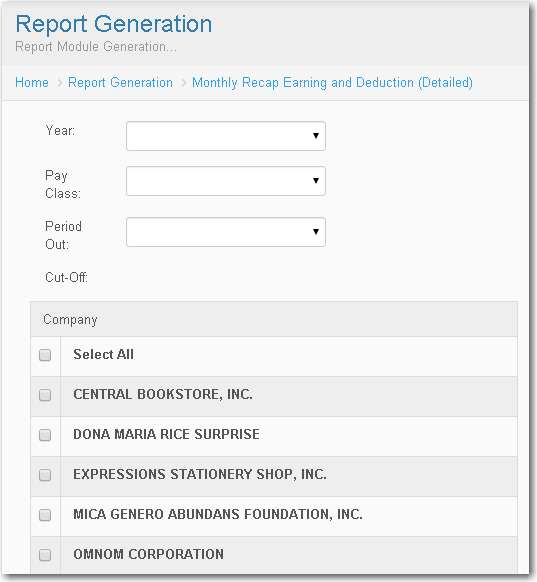
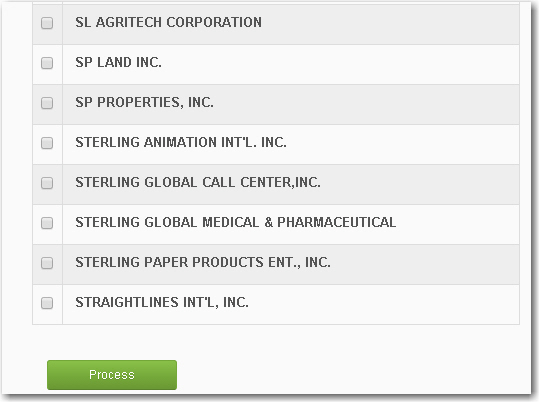
- For Monthly Recap Earning and Deduction (Detailed) simly click the Year combo box , select the Pay Class type. Click also the Period Out combo box then select. And input the Cut-Off Month. Select the Company by putting a check on the textbox provided every company. Then click Process button.
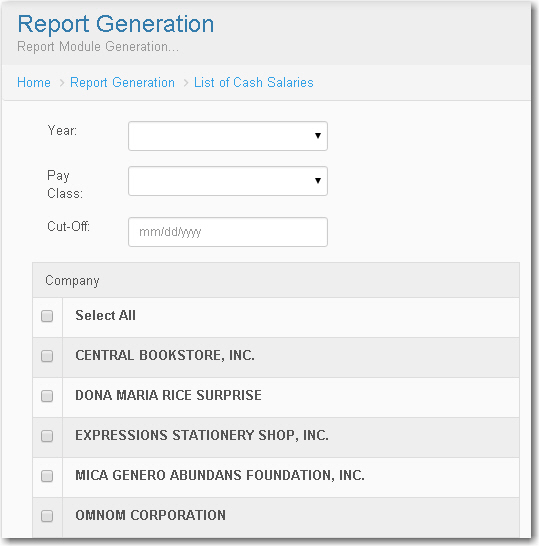
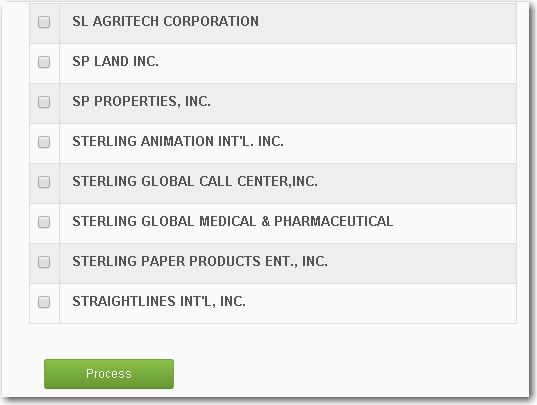
- List Of Cash Salaries , Click the Year and Pay Class combo box then select . Input the date of Cut- Off, Select the Company and click Process button.
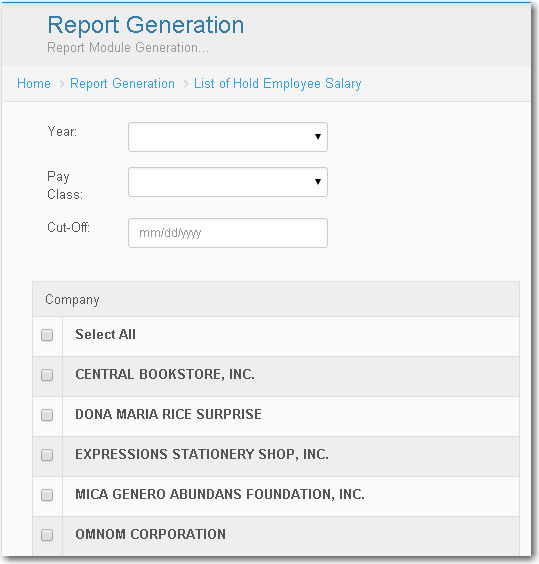
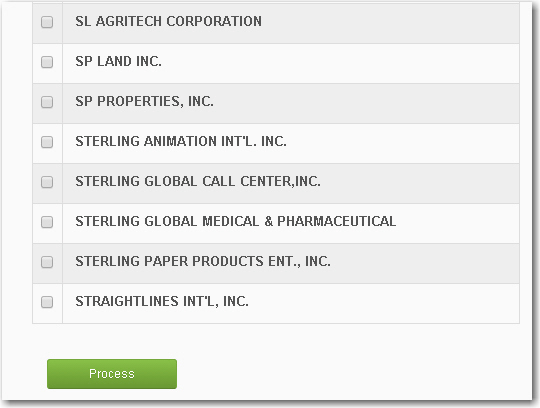
- List of Hold Employee Salary, Click the Year and Pay Class combo box then select . Input the date of Cut- Off, Select the Company and click Process button.
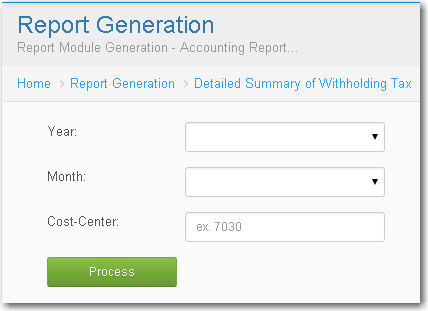
- For the Detailed Summary , input the Year and Month by clicking the combo box, then input the Cost Center number. And click Process button.
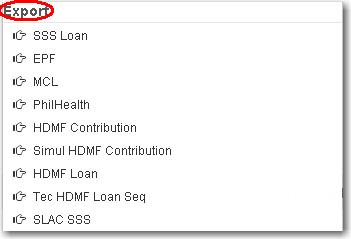
- Under the Export;
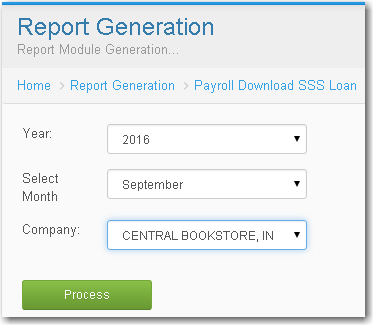
- For the SSS Loan, EPF, MCL, PhilHealth, HDMF Contribution, and Simul
HDMF Contribution has almost the similar way of how the user to fill up. Just input the Year , Month and Company then Click Process button.
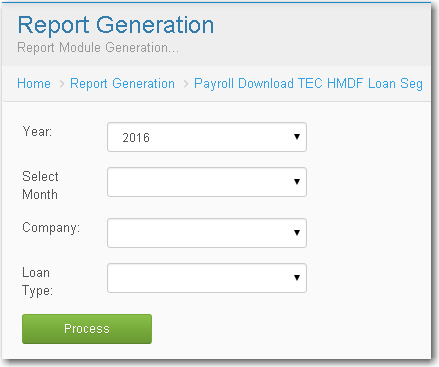
- For the Tec HDMF Loan simply click the by each combo box for the Year, Month , Company and Loan Type then select. And click Process button.
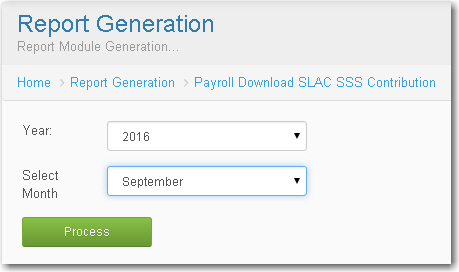
- Input the Year And Select the Month by clicking by each combo box and click Process button.
- For the Bank Report, Clicking the drop down menu the user will viewed under the Bank Report menu.
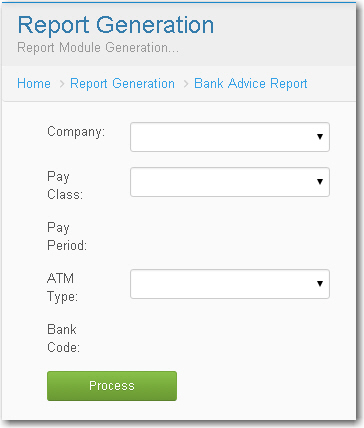
- Bank Advice Report and Metro Bank Disk Report has almost the same way on how the user to fill up. Input the Company and Pay Class type , after clicking the Pay class type the combo box for the Pay Period will be abled and the user can now input . Same way on how can input for the Bank Code , user should select first the ATM Type . Then click Process button.
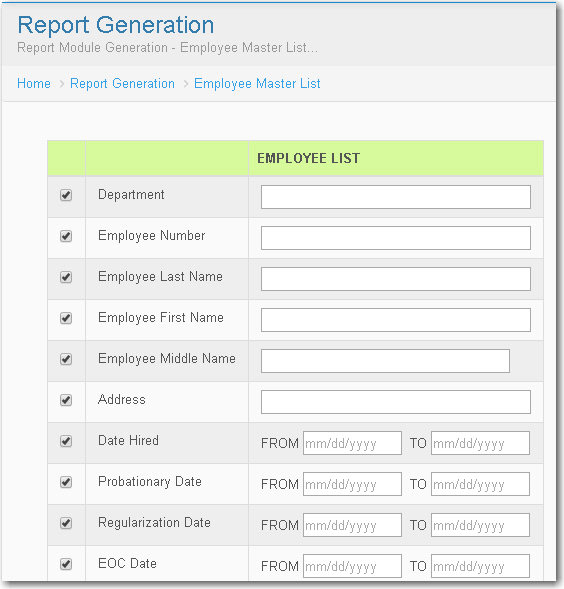
- Clicking Employee Master List , Employee Master List Module will display.
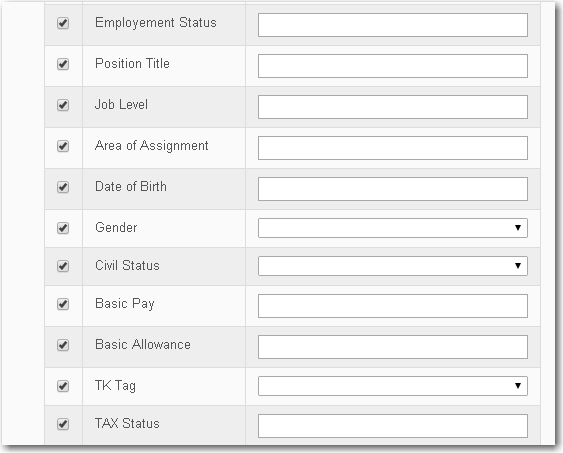
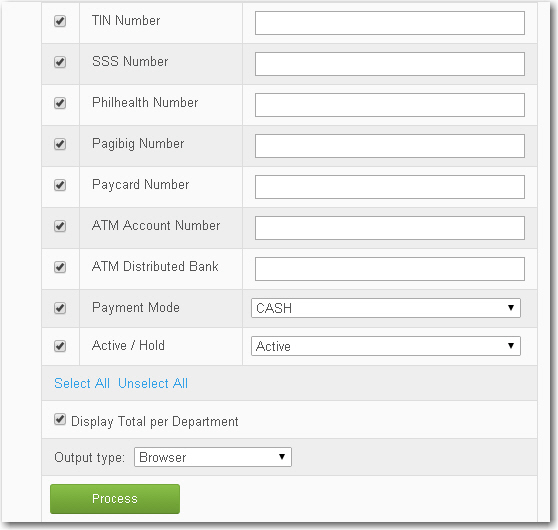
- To Fill Up the Employee Master List the user should put a check first on the check box so that the textbox will be able and the user can now input.
- The user can use this button to Select All and Unselect All .
- For the SSS , Pag-ibig and Philhealth Contribution of the Active RNF, Separated RNF, Active VIP and Separated VIP all of that has almost the same way on how the user inputting the information.
- The user are allow to choose if what she/he want to search , simply click the Search By combo box then select.
