Difference between revisions of "DOS INSTALLATION"
| Line 157: | Line 157: | ||
'' Edit/Update:'' <br> | '' Edit/Update:'' <br> | ||
| − | ''< | + | ''<b>files=90</b>'' <br> |
| − | ''< | + | ''<b>buffers=40</b>'' |
| Line 180: | Line 180: | ||
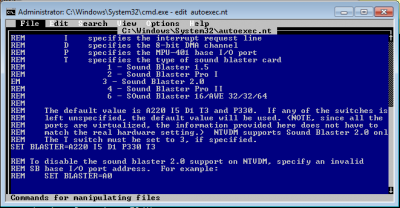
<center>'''Figure 27. autoexec.nt '''</center> | <center>'''Figure 27. autoexec.nt '''</center> | ||
| − | '' Type “< | + | '' Type “<b> edit autoexec.nt </b>”'' |
| Line 192: | Line 192: | ||
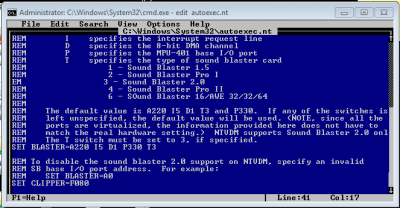
<center>'''Figure 29. autoexec.nt '''</center> | <center>'''Figure 29. autoexec.nt '''</center> | ||
| − | '' Type “<b> SET CLIPPER=F080 </ | + | '' Type “<b> SET CLIPPER=F080 </b>”.'' |
Latest revision as of 13:11, 6 February 2018
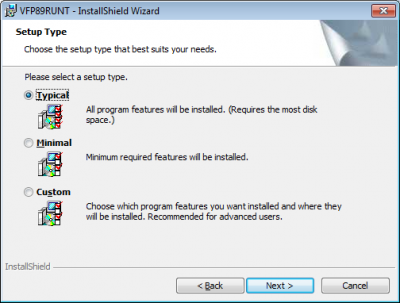
* Step 1: Install VFP89RUNT on your PC.
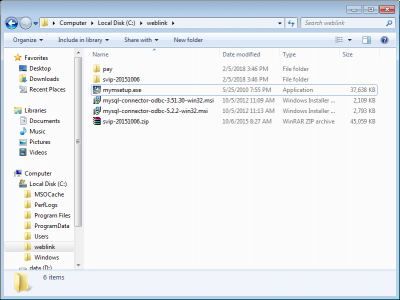
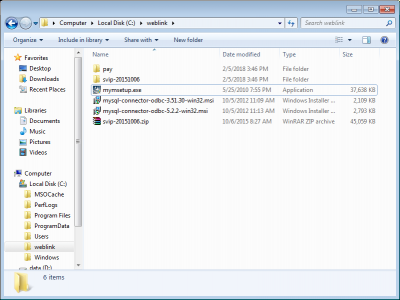
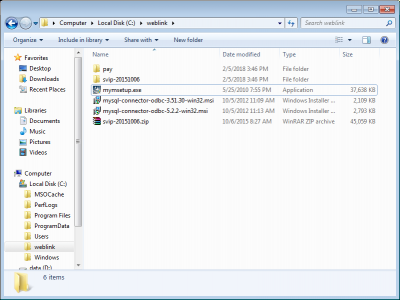
Double click “mymsetup.exe”.
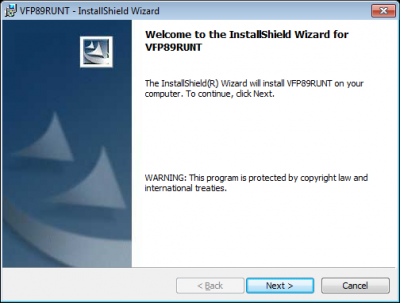
Just click “Next”.
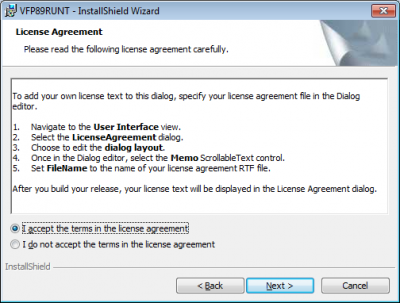
Select the radio button “I accept the terms in the license agreement” and click “Next” button.
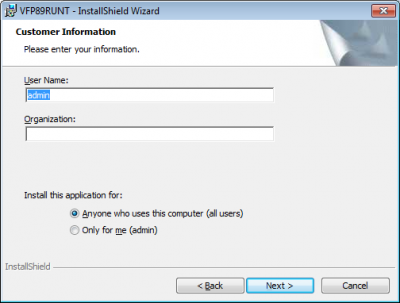
Just click “Next” button.
Just click “Next” button.
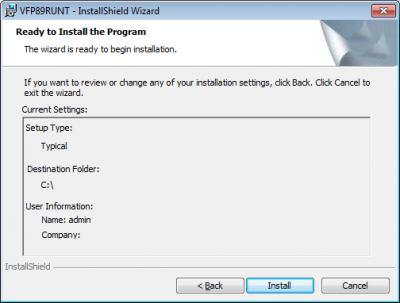
Just click “Install” button.
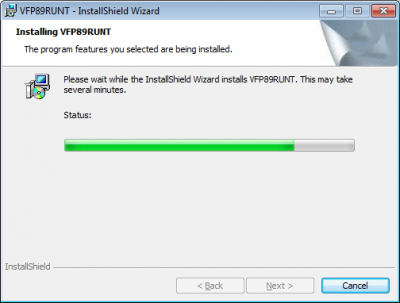
Wait until it loads 100%.
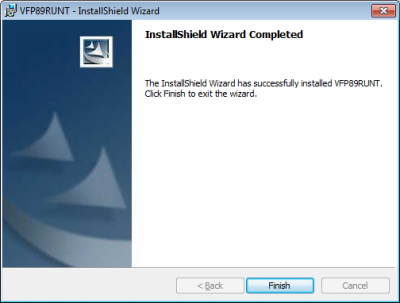
Click “Finish”.
Installation for VFP89RUNT is completed.
* Step 2: Install MySQL Connector/ODBC 3.51
Double click “mysql-connector-odbc-3.51.30-win32.msi”
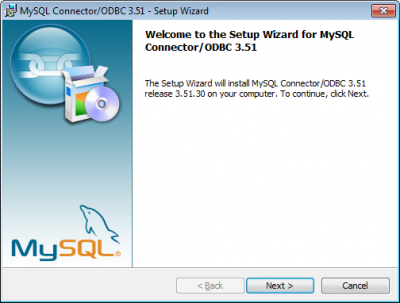
Just click “Next” button.
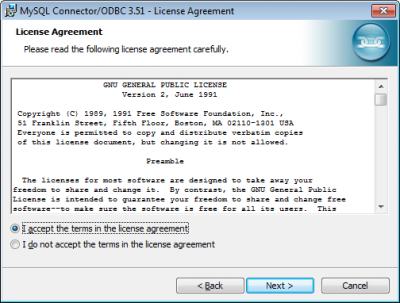
Select “I accept the terms in the license agreement” radio button and click “Next”.
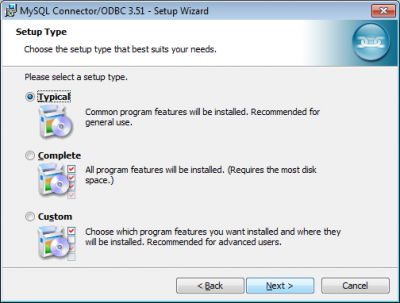
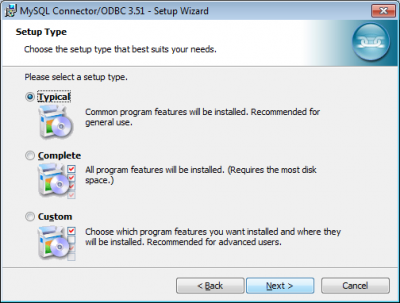
Just click “Next”.
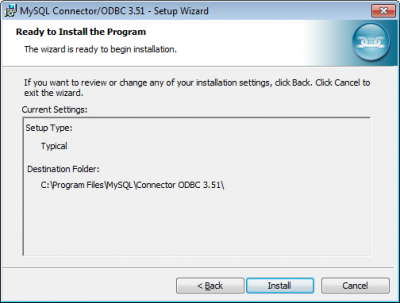
Just click “Install” button.
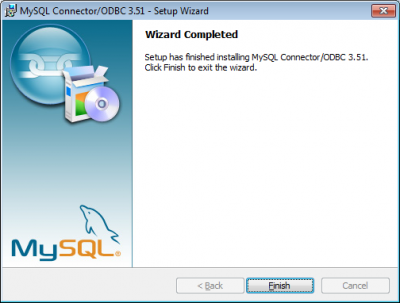
Just click “Finish” button.
*Step 3: Install MySQL Connector/ODBC 5.2
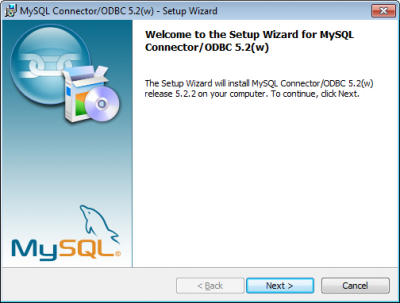
Double click “mysql-connector-odbc-5.2.2-win32.msi.msi”.
Just click “Next”.
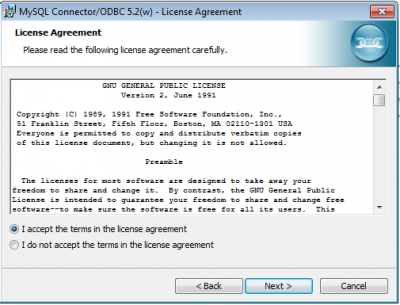
Select “I accept the terms in the license agreement” radio button and click “Next”.
Just click “Next”.
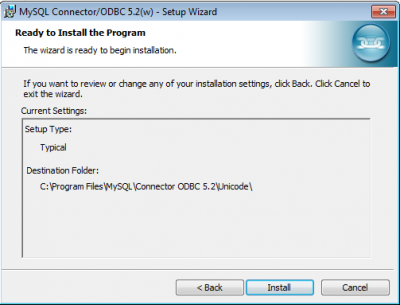
Just click “Install” button.
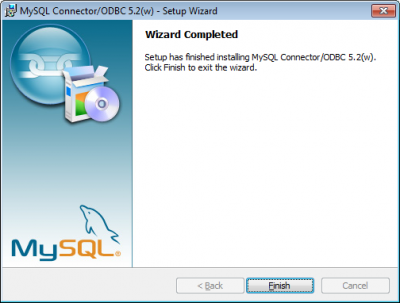
Just click “Finish”.
*Step 3: Edit config.nt and autoexec.nt
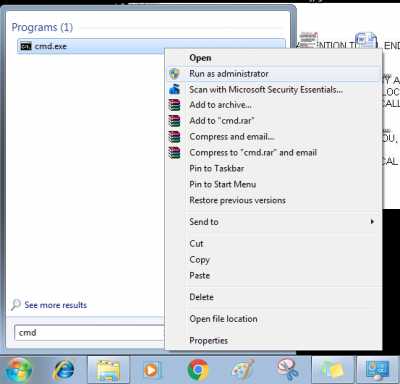
Click Windows on the taskbar and search for cmd.exe.
Right click cmd.exe and “Run as administrator”.
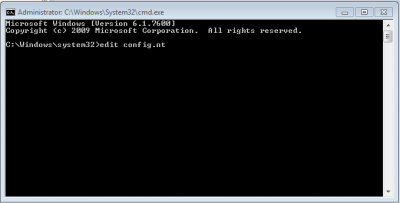
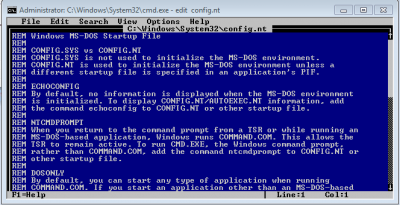
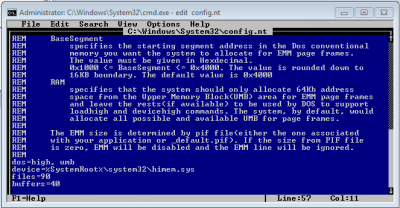
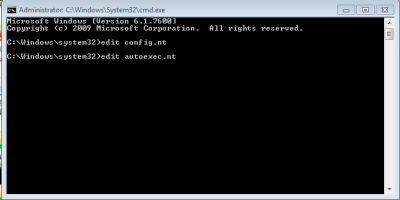
Type “ edit config.nt ” and click enter.
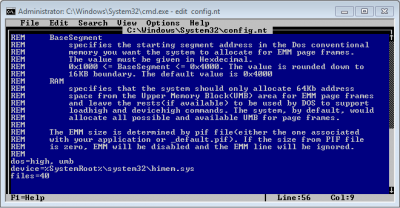
Press “arrow down” on the keyboard until the end.
Edit/Update:
files=90
buffers=40
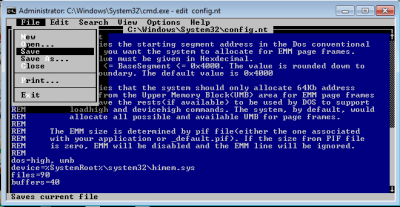
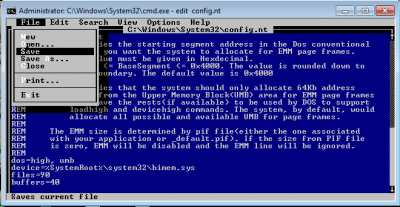
Go to File -> Save
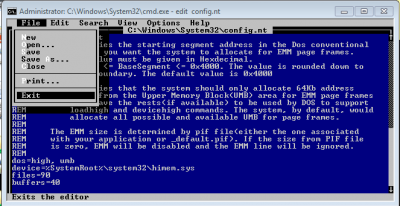
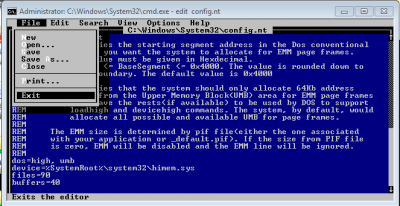
Go to File -> Exit
Type “ edit autoexec.nt ”
Press “arrow down” on the keyboard until the end.
Type “ SET CLIPPER=F080 ”.
Go to File -> Save
Go to File -> Exit
