Difference between revisions of "DOS INSTALLATION"
| Line 96: | Line 96: | ||
| − | [[File:condb0. | + | [[File:condb0.PNG|center|400px]] |
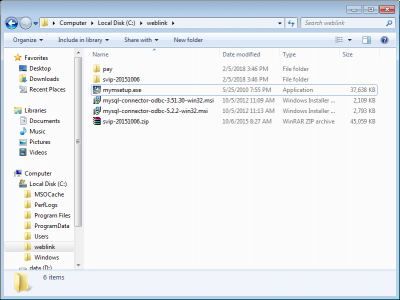
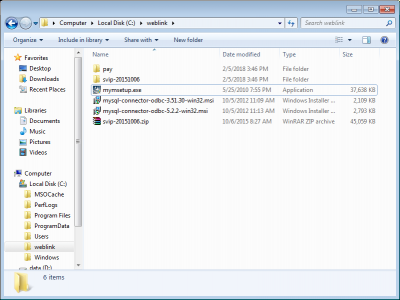
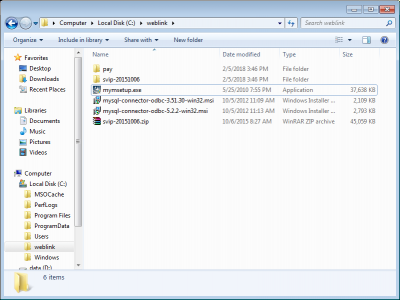
<center>'''Figure 15. Setting up “mysql-connector-odbc-5.2.2-win32.msi.msi”'''</center> | <center>'''Figure 15. Setting up “mysql-connector-odbc-5.2.2-win32.msi.msi”'''</center> | ||
| Line 102: | Line 102: | ||
| − | [[File:condb1. | + | [[File:condb1.PNG|center|400px]] |
<center>'''Figure 16. Setting up MySQL Connector/ODBC 5.2 '''</center> | <center>'''Figure 16. Setting up MySQL Connector/ODBC 5.2 '''</center> | ||
| Line 108: | Line 108: | ||
| − | [[File:condb2. | + | [[File:condb2.PNG|center|400px]] |
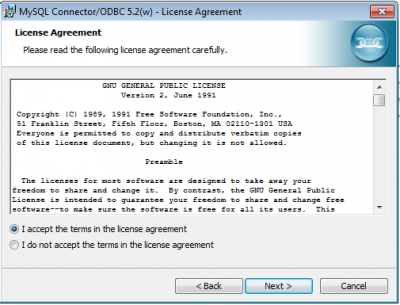
<center>'''Figure 17. Setting up MySQL Connector/ODBC 5.2 License Agreement'''</center> | <center>'''Figure 17. Setting up MySQL Connector/ODBC 5.2 License Agreement'''</center> | ||
| Line 114: | Line 114: | ||
| − | [[File:condb3. | + | [[File:condb3.PNG|center|400px]] |
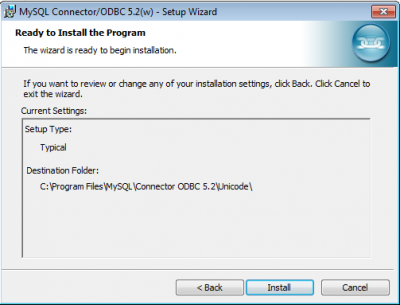
<center>'''Figure 18. MySQL Connector/ODBC 5.2 Setup Type '''</center> | <center>'''Figure 18. MySQL Connector/ODBC 5.2 Setup Type '''</center> | ||
| Line 120: | Line 120: | ||
| − | [[File:condb4. | + | [[File:condb4.PNG|center|400px]] |
<center>'''Figure 19. MySQL Connector/ODBC 5.2'''</center> | <center>'''Figure 19. MySQL Connector/ODBC 5.2'''</center> | ||
| Line 126: | Line 126: | ||
| − | [[File:condb5. | + | [[File:condb5.PNG|center|400px]] |
<center>'''Figure 20. MySQL Connector/ODBC 5.2'''</center> | <center>'''Figure 20. MySQL Connector/ODBC 5.2'''</center> | ||
| Line 133: | Line 133: | ||
'''*'''Step 3: Edit config.nt and autoexec.nt | '''*'''Step 3: Edit config.nt and autoexec.nt | ||
| − | [[File:cd1. | + | [[File:cd1.PNG|center|400px]] |
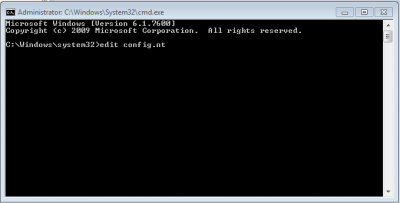
<center>'''Figure 21. cmd'''</center> | <center>'''Figure 21. cmd'''</center> | ||
| Line 141: | Line 141: | ||
| − | [[File:cd2. | + | [[File:cd2.PNG|center|400px]] |
<center>'''Figure 22. cmd.exe as Administrator'''</center> | <center>'''Figure 22. cmd.exe as Administrator'''</center> | ||
| Line 147: | Line 147: | ||
| − | [[File:cd3. | + | [[File:cd3.PNG|center|400px]] |
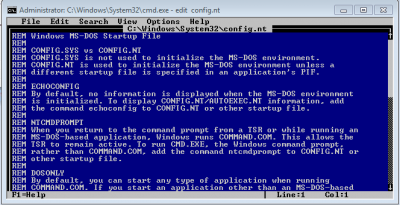
<center>'''Figure 23. config.nt'''</center> | <center>'''Figure 23. config.nt'''</center> | ||
| Line 153: | Line 153: | ||
| − | [[File:cd4. | + | [[File:cd4.PNG|center|400px]] |
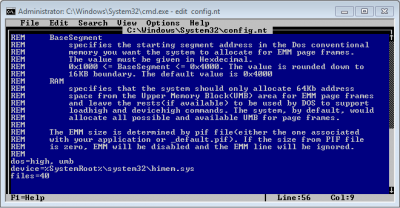
<center>'''Figure 24. config.nt'''</center> | <center>'''Figure 24. config.nt'''</center> | ||
| Line 161: | Line 161: | ||
| − | [[File:cd5. | + | [[File:cd5.PNG|center|400px]] |
<center>'''Figure 24.1 Edit/Update'''</center> | <center>'''Figure 24.1 Edit/Update'''</center> | ||
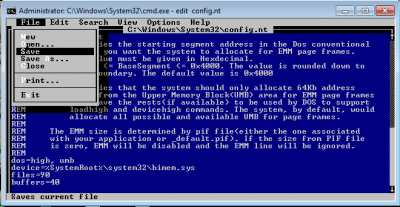
| − | [[File:cd6. | + | [[File:cd6.PNG|center|400px]] |
<center>'''Figure 25. Save '''</center> | <center>'''Figure 25. Save '''</center> | ||
| Line 171: | Line 171: | ||
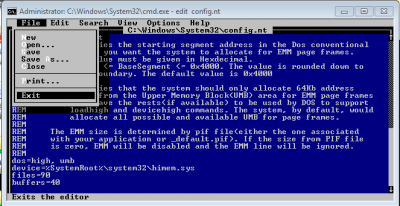
| − | [[File:cd7. | + | [[File:cd7.PNG|center|400px]] |
<center>'''Figure 26. Exit '''</center> | <center>'''Figure 26. Exit '''</center> | ||
| Line 177: | Line 177: | ||
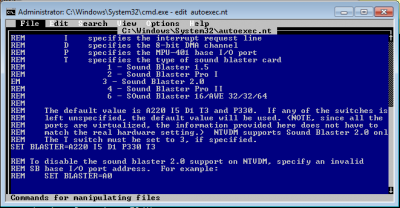
| − | [[File:cd8. | + | [[File:cd8.PNG|center|400px]] |
<center>'''Figure 27. autoexec.nt '''</center> | <center>'''Figure 27. autoexec.nt '''</center> | ||
| Line 183: | Line 183: | ||
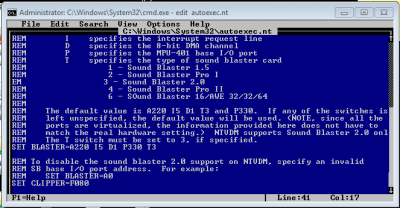
| − | [[File:cd9. | + | [[File:cd9.PNG|center|400px]] |
<center>'''Figure 28. autoexec.nt '''</center> | <center>'''Figure 28. autoexec.nt '''</center> | ||
| Line 189: | Line 189: | ||
| − | [[File:cd10. | + | [[File:cd10.PNG|center|400px]] |
<center>'''Figure 29. autoexec.nt '''</center> | <center>'''Figure 29. autoexec.nt '''</center> | ||
| Line 195: | Line 195: | ||
| − | [[File:cd11. | + | [[File:cd11.PNG|center|400px]] |
<center>'''Figure 30. Save '''</center> | <center>'''Figure 30. Save '''</center> | ||
| Line 201: | Line 201: | ||
| − | [[File:cd12. | + | [[File:cd12.PNG|center|400px]] |
<center>'''Figure 31. Exit'''</center> | <center>'''Figure 31. Exit'''</center> | ||
'' Go to File -> Exit'' | '' Go to File -> Exit'' | ||
Revision as of 12:38, 6 February 2018
* Step 1: Install VFP89RUNT on your PC.
Double click “mymsetup.exe”.
Just click “Next”.
Select the radio button “I accept the terms in the license agreement” and click “Next” button.
Just click “Next” button.
Just click “Next” button.
Just click “Install” button.
Wait until it loads 100%.
Click “Finish”.
Installation for VFP89RUNT is completed.
*Step 2: Install MySQL Connector/ODBC 3.51
Double click “mysql-connector-odbc-3.51.30-win32.msi”
Just click “Next” button.
Select “I accept the terms in the license agreement” radio button and click “Next”.
Just click “Next”.
Just click “Install” button.
Just click “Finish” button.
*Step 3: Install MySQL Connector/ODBC 5.2
Double click “mysql-connector-odbc-5.2.2-win32.msi.msi”.
Just click “Next”.
Select “I accept the terms in the license agreement” radio button and click “Next”.
Just click “Next”.
Just click “Install” button.
Just click “Finish”.
*Step 3: Edit config.nt and autoexec.nt
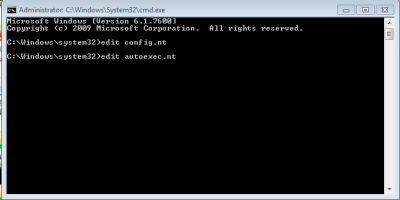
Click Windows on the taskbar and search for cmd.exe.
Right click cmd.exe and “Run as administrator”.
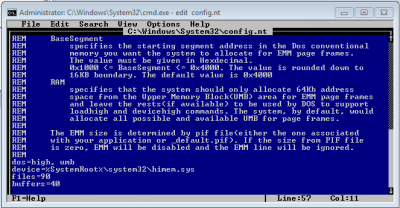
Type “edit config.nt” and click enter.
Press “arrow down” on the keyboard until the end.
Edit/Update:
files=90
buffers=40
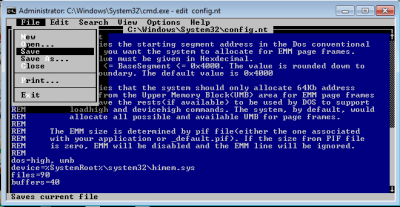
Go to File -> Save
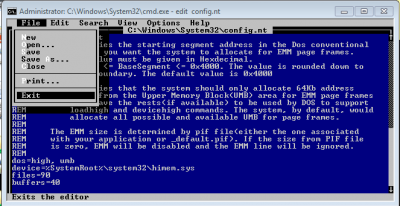
Go to File -> Exit
Type “edit autoexec.nt”
Press “arrow down” on the keyboard until the end.
Type “SET CLIPPER =F080 ”.
Go to File -> Save
Go to File -> Exit
