Difference between revisions of "EMPLOYEE CREATION MANUAL"
From SPGC Document Wiki
| Line 52: | Line 52: | ||
For the '''TAX Effectivity Date''' enter the date according to the date format required. If it is formatted with '''mm/dd/yyyy''', '''dd/mm/yyyy''', or '''yyyy/dd/mm''' . It is also called the cut -off period. | For the '''TAX Effectivity Date''' enter the date according to the date format required. If it is formatted with '''mm/dd/yyyy''', '''dd/mm/yyyy''', or '''yyyy/dd/mm''' . It is also called the cut -off period. | ||
| − | [[File:Tax_effectivity.jpg|center| | + | [[File:Tax_effectivity.jpg|center|600px]] |
To enter the '''HDMF#''' or Pagibig number of Employee, just click the HDMF textfield and type the number with four digit number by each line | To enter the '''HDMF#''' or Pagibig number of Employee, just click the HDMF textfield and type the number with four digit number by each line | ||
| + | |||
| + | [[File:Hdmf.jpg|center|600px]] | ||
For the '''PHIC#''' or PhilHealth number of an Employee enter it with four digit number by each line also . | For the '''PHIC#''' or PhilHealth number of an Employee enter it with four digit number by each line also . | ||
Revision as of 10:11, 2 August 2016
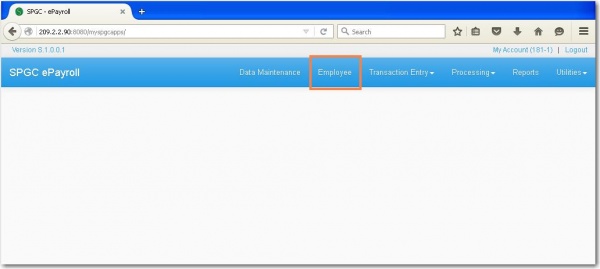
Clicking Employee menu will let the user view the transaction of an Employee.
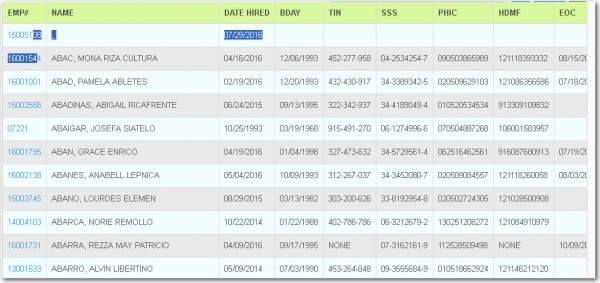
To view the Employee list click the Employee menu then Employee Master List will display.
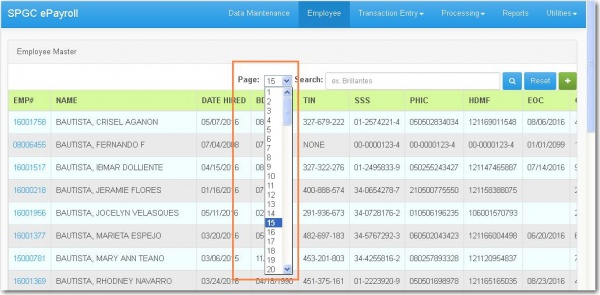
To select the page number of an employee list, click the Page combo box and select the page number.
By Reseting the Employee name that you entered,Click the Reset button and it will go back to the first module which is Employee Master list.
To find a transaction of an Employee use the Search box to enter the Employee name and press Enter.After you have input the Employee name the data will display.
* For Creation
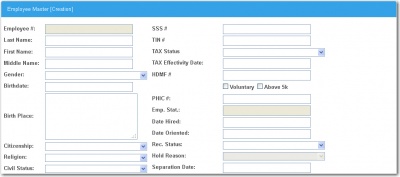
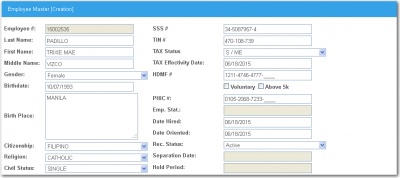
To create a new Employee click+button followed by theResetbutton.Then the Employee Creation Module will display.
To fill-up the Employee Creation form.Click the textfield,type the Employee number,Last Name,First Name,Middle Name,Birthday and Birth Place by its own textfield.And for the Gender just click the combo box and select if it is male or female.
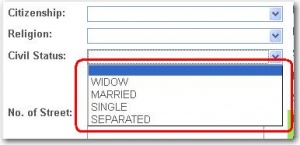
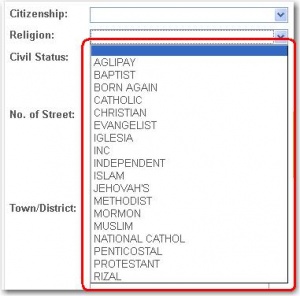
To select the Citizenship simply click the combo box and select. After selecting the Citizenship,select also the Religion. Then select the Civil Status.
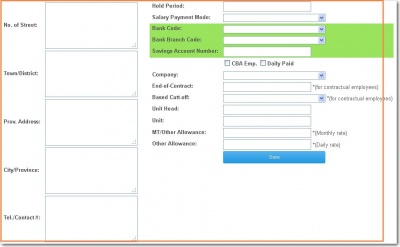
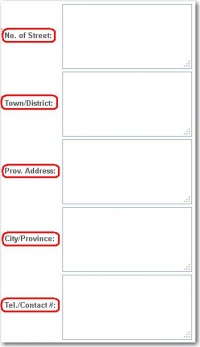
For The address.Type the No.of Street.In what Town/District.Then in what Province.And also the City/Province.Her/His Telephone or Contact number.
For The SSS# and TIN# click by its own textbox and enter their number. Both SSS and TIN number has a unique code number.
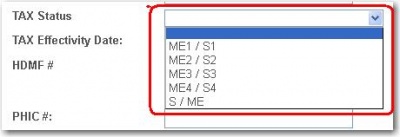
To select the TAX Status,click the combo box and select in the five TAX Status code
For the TAX Effectivity Date enter the date according to the date format required. If it is formatted with mm/dd/yyyy, dd/mm/yyyy, or yyyy/dd/mm . It is also called the cut -off period.
To enter the HDMF# or Pagibig number of Employee, just click the HDMF textfield and type the number with four digit number by each line
For the PHIC# or PhilHealth number of an Employee enter it with four digit number by each line also .
On how the user enter the Date of when did the employee was hired and when did he/she oriented type it into the textfield according to the date formatted.
To select the Record Status, click the combo box and select if it is Active or Hold. It is Active when the Employee was still connected in the company , and Hold when it is separated or already resigned.
Once you select the Status with Active, both Separation Date and Hold Period textbox will be disabled. Meaning you cannot input a date on that textbox. Otherwise if it is selected as Hold you can input a date.
You can input the Separation Date and Hold Period of the Employee when the Employee was not yet connected or already separated to the company . This two textbox was abled . And it will be disabled if the Employee was Active or still connected to the Company.
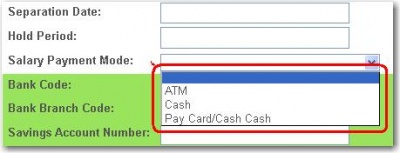
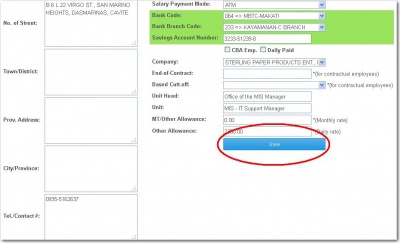
Selecting Salary Payment Mode either ATM, Cash and Paycard/ Cash Cash . ATM if the Employee have a ATM card , Cash if they don't have and usually in Meycauayan , Marilao and Service Crew used Cash Cash for their Salary Payment Mode.
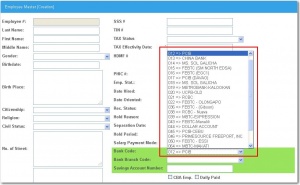
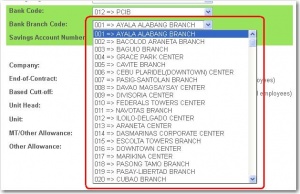
To choose the Bank Code just click the combo box and select what bank code . Bank code number always start at number 0.
Selecting Bank Branch Code is just click also the combo box and select.
To select if it is CBA Emp. or Daily Paid , Usually Union Members using CBA Emp. while the Daily Paid is when it is Monthly and Daily Paid .
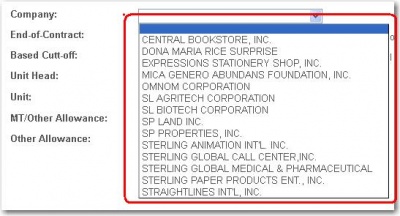
To Select the Company if where the Employee is, click the combo box and select in what company.
To input the End of Contract and Based Cut-off which both for the contractual employees,simply click the textbox for the End -of-Contract and for the Based Cut-off click the combo box and select.
Input the Unit Head and Unit if where the Employee was .
MT/Other Allowance (Monthly rate) is what we called a Deminimis and Other Allowance (Daily rate) is a Non Taxable Allowance.
After filling up all the information needed, to save the record click Save button. Then the Employee Form for a new employee will Save and display.
