SLAC QA TAGGING SYSTEM
From SPGC Document Wiki
Main Page > Application Development Team > System Manual
SL Agritech QA Tagging System is a secured system that authorized the user to manage and manipulate the information of the seeds.Before starting using the system username and password are required. When username and password was accepted menu bars will display. These menu bars are the information of the seed where user can add, edit and delete.
Change Password Module
This module will give user the privilege to update their password. Old password of the user is required for verification and update. No old password, no updating of account.
Variety Maintenance Module
Variety Maintenance is a module that will let the user to add, update and delete the class or name of the seeds. After clicking the variety maintenance module the list of variety/variety name will display. On the upper left column, the button for adding variety was placed. Then the update button and delete button was placed on the first and second column of the table.
ADDING : After clicking the add button, a module for adding variety will display for the user to add for a variety name. Then click save button Save to add the variety information, field is required in saving the information.
UPDATING : Once user clicks the update button of the seed's variety name, the variety name of the seed that the user wants to update/edit will display. Same as in adding the variety,clicking save button Save will update the seed's variety information.
DELETING:If ever the user clicks the delete button, verification message box will appear. Click OK button Ok means user is allowing the system to delete the variety name, otherwise not.
Lot Maintenance Module
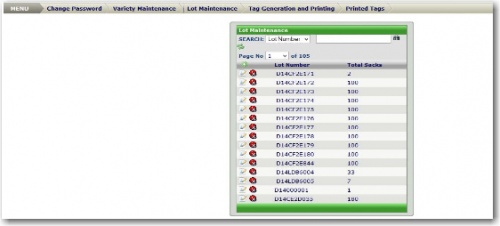
Lot Maintenance is the module consists of the list of the Lot Number (where a seed is located)and the total number of sacks (in a lot). This module will also give privilege to the user to add, edit and delete the lot number and the total number of sacks in a lot. Aside from adding, editing and deleting the lot information, this module has a search module to sort the lot information the user wants to display.
SEARCHING:When searching specific lot information, user must select a category (Lot number or Lot Owner)for the system to sort it then fill up the blank field with blank number or the lot owner information. Clicking the search button let the user to view the information but if ever no record displayed this means that the record the user wants to search was not stored.
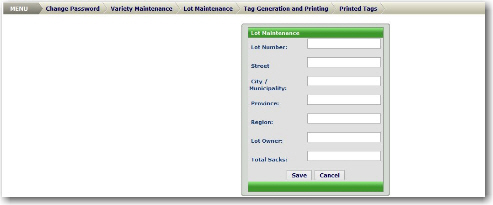
ADDING:Same as in adding variety after clicking add button will let the user to add lot information. Lot information is consists of Lot number,street,city/municipality,province,region,lot owner and total sacks in a lot. Lot number and Total Sacks are required to be filled up in storing the information of a lot. Clicking also save button Save will store the information of the lot.
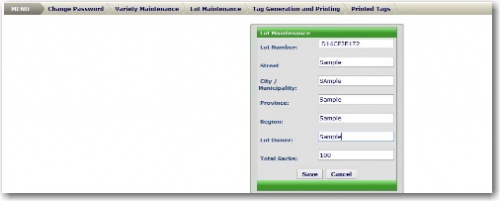
UPDATING: This is also same in updating the information of the variety. When clicking the update button the information of the lot will display. Same as in adding the variety, clicking save button Save will update the seed's variety information.
REFRESH:Clicking refresh button will command the system to reload to reload the module.
Tag Generation and Printing Module
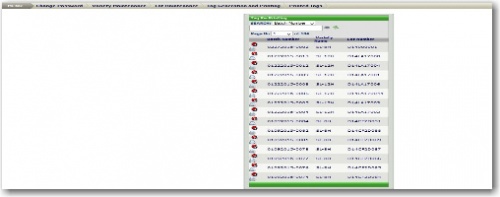
Tag generation and printing module is a module that will let the user to generate and print the seed's information by batch. User can search, add and delete the batch information but it is not editable. Batch information is consist of batch number, variety number and lot number the table of it will display after clicking the tag generation and printing module.
SEARCHING: Same as sorting the lot information, user needs to select one of the categories(Batch Number, Variety Name and Lot Number)then input the information of the category selected. Clicking also search button will view the batch information.
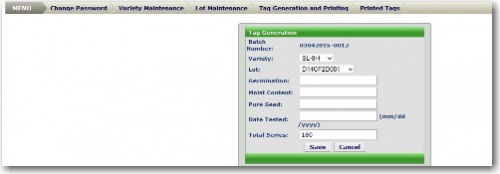
ADDING: In adding batch of seed to be print use must select what variety and lot number then input the date the seed was tested and the total series(number o copies of the variety to be print). Again clicking save button Save will store the information.
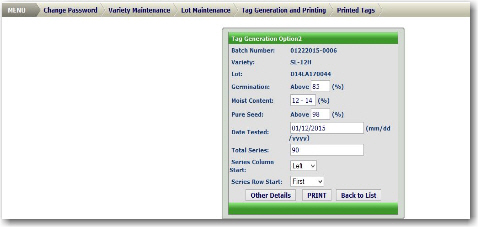
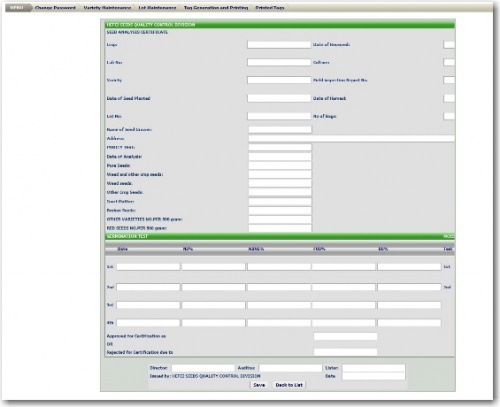
PRINTING:Print icon was placed in the second column of the tag generation table.This print icon will let the user print the batch number selected. If ever the user clicks the print icon, verification message box will appear. Clicking OK button Ok means user is allowing the system to print the batch information, otherwise not. After clicking OK button, tag generation option2 will display with the details of the batch number to be printed.
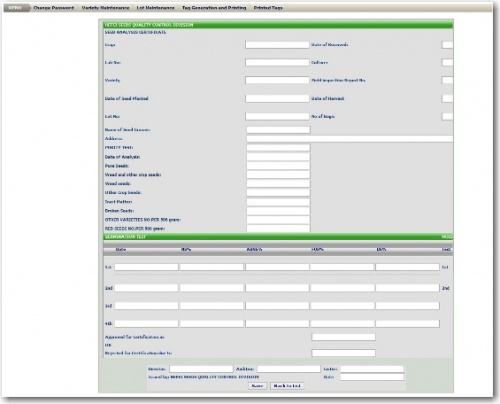
OTHER DETAILS BUTTON: This button will specify or add more details about the batch number that will be printed. Clicking save button will save the additional details of the batch information. Then back to list button Back to List will return the system to the main page of tag generation and printing module.
PRINT BUTTON: This icon/button will print the selected batch information after clicking OK button OK then the batch number's information will be removed to the tag generation and printing list.
Printed Tags Module
    Printed tags module is a module that will let the user to view all the batch number that was printed in tags generation and printing module. This module allows the user to reprint the batch number that has been printed already. User can also search and delete the list in the printed tags.
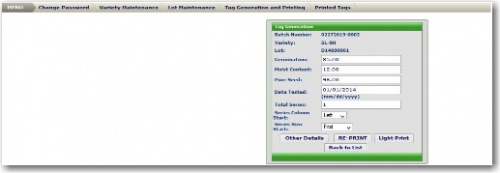
PRINT BUTTON: Print icon is a command that will allow the user to reprint the batch number that has been printed already. After clicking print icon and then OK button, tag generation module will display with the details of the selected batch number.
OTHER DETAILS BUTTON: Same as the other details button in tag generation and printing this button will also let the user specify or add more details about the batch number that will be printed. Clicking save button will save the additional details of the batch information. Then back to list button Back to List will return the user to the main page of printed tags.
RE-PRINT AND LIGHT PRINT BUTTON:This button will re-print the selected batch number together with the details.
NOTE:There are instructions needs to be follow in printing and re-printing QA Tags to have faster way while printing. Not following instructions will result for slow process in printing. These are the following instructions:
1. After clicking print icon print preview will display and the number of copies the QA Tags will be printed is depends on the total number of series.
2. After batch information was displayed, clicking the print icon below will be followed to print the batch number selected.
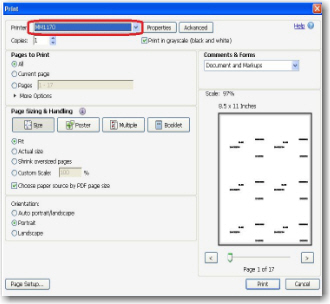
3. After clicking print icon and before the actual printing process, print's page setup will display. User must change the PRINTER dropdown list into MM1170 for compatibility of the system.
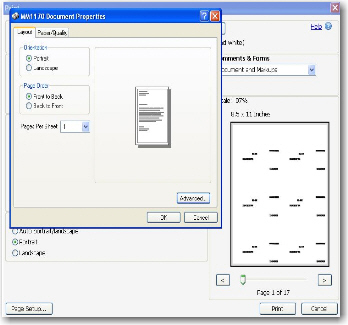
4. Next click the Properties button beside the printer dropdown list to edit the MM1170 Printer's properties. Then document properties of the chosen printer properties. Then document properties of the chosen printer will display.
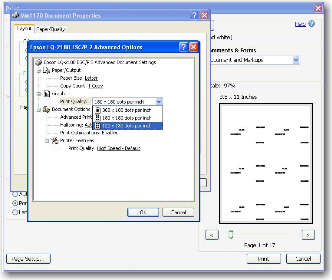
5.Then click advanced button to manage the advanced option of the printer. Set printer quality to 120x180 dots per inch to have a faster way in printing. The larger the printer dots per inch the slower the QA Tags will be printed. Then just click the two OK buttons to save the updates and lastly click the PRINT Button Print for the final output.


